

1
Create the form
From your workspace, click New form and give it a name. This creates the form immediately — there’s no separate “draft” vs “published” state to manage. It’s live the moment it exists, accepting submissions by default.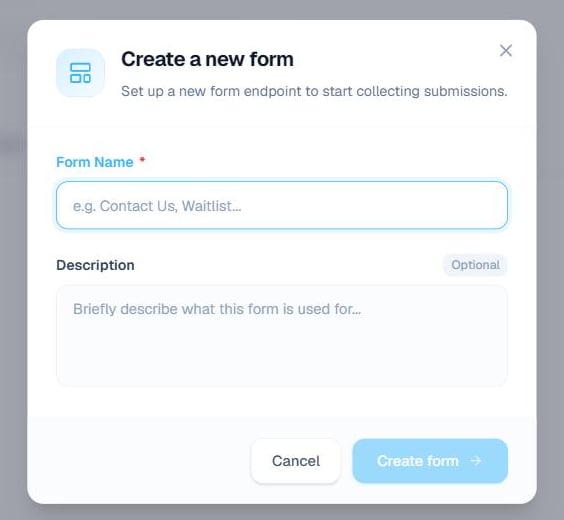
2
Add fields
Build the schema field-by-field — text, email, phone, number, select/multiselect, radio, checkbox, date/time, file, signature, rating/scale, and more. Each field has:
- Required — enforced both client-side (instant feedback) and server-side (the actual gate — see Submissions)
- Validation rules — length/range bounds, or a pattern for text fields
- A submission key — defaults to the field’s ID, overridable if you need your integration’s field names to differ from the field’s internal ID
3
Configure spam protection
New forms start with honeypot and rate limiting on (always on, no configuration needed) but no CAPTCHA. Turn on CAPTCHA from the form’s Spam Protection settings if you expect real public traffic — see Cloudflare Turnstile, hCaptcha, or reCAPTCHA v3 to set one up.
4
Restrict origins (optional)
By default a form accepts submissions from any origin — useful while you’re testing locally or embedding on multiple sites. Add specific domains under Allowed Origins once you know exactly where the form will live, to reject submissions from anywhere else.
5
Get your integration code
Every form has a Get Started tab with copy-paste code for every supported framework, pre-filled with that form’s actual public ID — the same content as Integrations, scoped to this one form.
Closing a form
Turn off Accepting submissions in the form’s settings (Starter plan or above) to stop new submissions without deleting the form or its existing data. A closed form returns423 to anyone who tries to submit — see Submissions.